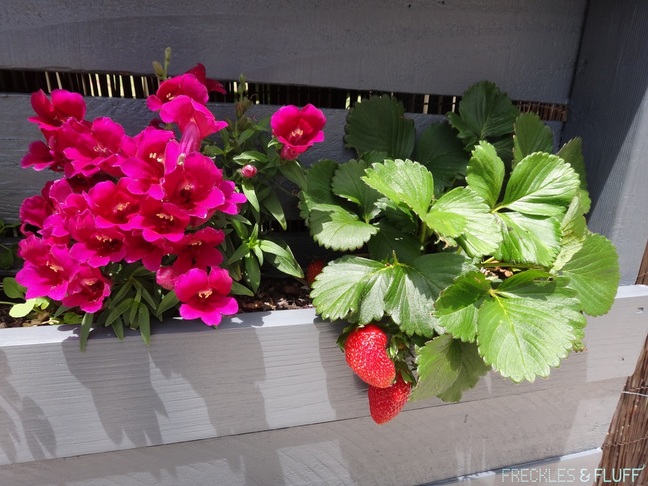
I love the idea of repurposing wooden pallets into vertical gardens. I've seen a few out there in upcycling land that look really good with great tutorials, such as the one on Life on the Balcony by Fern Richardson and Design Sponge by Kate Pruitt. Did I want one? Definitely!
Our yard has a fence that is quite gappy so people walking by outside can see straight in. I had been pondering for sometime what I could do. We already put up reed screen fencing which helps and looks good but more privacy would be better. I was looking for a practical yet creative solution to this and at the same time grow a garden of herbs, fruits and flowers in a sunny spot where they will thrive.
One problem though was that using pallets with edibles is a bit questionable. To make it safe (or rather safer), I again used only quality heat treated pallets for this project, scrubbed it clean, sanded it, and lined it with builders film so there is a good barrier between the pallet and soil/plants. I hope!
Miss Mascara Me and my dear dad helped me with different parts of this DIY project - who would have thought dad and daughter would be bonding by doing this together! Here is how I designed and constructed my first pallet vertical garden.
The Pallet I Started With
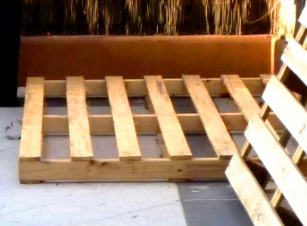
It's the one lying on the floor. I forgot to take a proper picture of it in my excitement to make it. It measures 205cm wide and 119cm high, so it's a decent size.
Filling in the Gaps at the Back
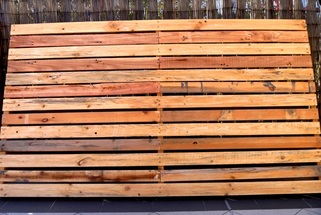
We used planks of wood from other pallets we had the joy of dismantling ... not! Doing this helped to provide better privacy screening once we put it up against the fence.
Making the Planter Box Rows
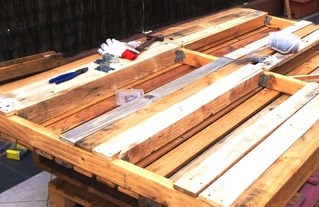
For the front, I wanted 3 rows and 2 columns of planter boxes. Each row being 3 planks high which was then secured with a bottom piece using nails and angle brackets.
Sanding & Painting
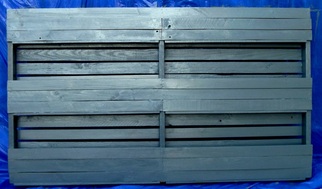
We used the left over paint from the Wooden Pallet Chillout Lounge project. It was a bit tricky to get into the small spaces in between the planks of wood that made up the planter boxes. It looks a bit unfinished to me so I'm thinking of filling in the gaps with some sort of filler (any recommendations?) and painting it.
Lining & Securing it
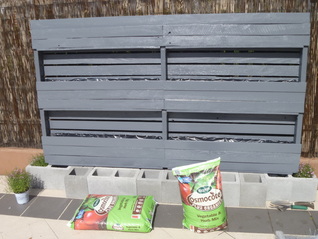
Using builder's film and staples we lined the planter box sections so the soil (Osmocote Vegetable and Herb Mix) stays in place.
To secure it, discarded cinder blocks I found (yay for more repurposing opportunities!) formed the support base and thick metal wire tied it to the existing metal fence.
To secure it, discarded cinder blocks I found (yay for more repurposing opportunities!) formed the support base and thick metal wire tied it to the existing metal fence.
Planting
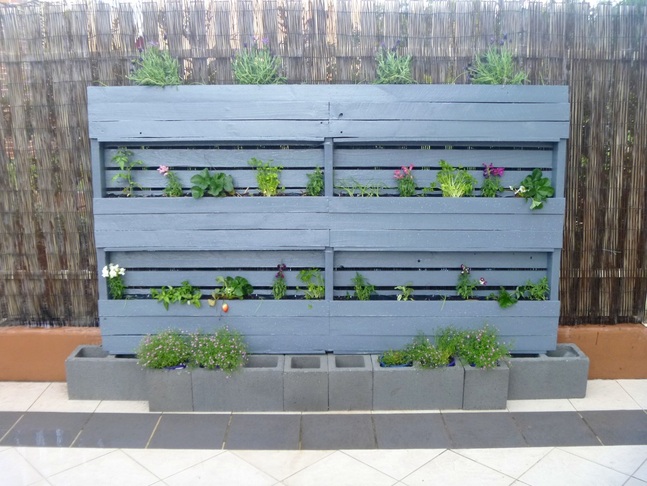
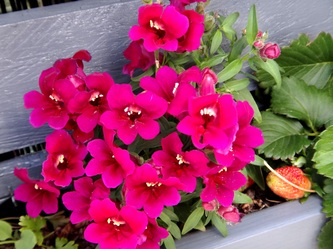
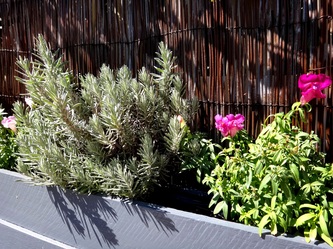
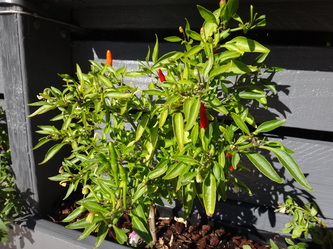
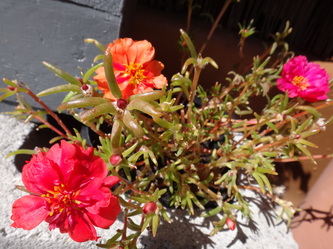
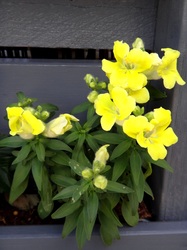
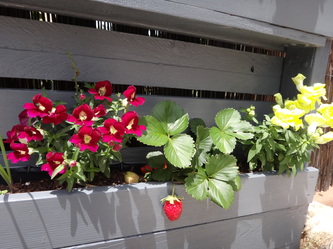
This is what it looked like just after planting. I designed it to have a mix of herbs, fruits and flowers so it had a variety of colours, textures and fragrances. I used a mix of existing ones I had elsewhere in my garden (chives, strawberries, chilli, flowers), from my mum's garden (thai basil, vietnamese mint) and the rest I bought (mini lavendar, tiny tim tomatoes, continental parsley, sage, and flowers which I have no idea what they are - they're the ones sitting in the cinder blocks that I needed to buy more of).
Giving it Time to Grow
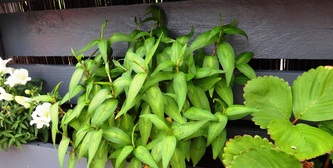
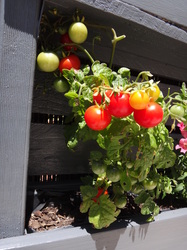
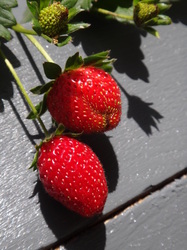
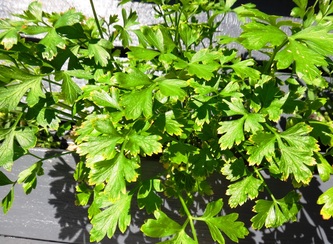
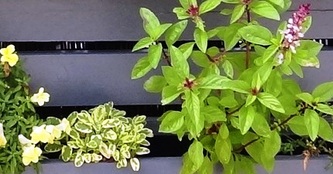
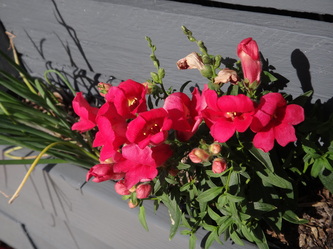
Here's a closer look at some of them after they had time to settle in and grow. Most have done well, whereas some died off after blooming/fruiting. I think my tomatoes needed more fertiliser and space to keep them going. Ants had established themselves in some nooks, drying up the soil (well that's my theory) but I discovered a squirt of lemon juice gets them to move house! No chemicals, how good is that!
I keep forgetting to take a picture of my whole vertical garden when it's looking its best and the sun is just right ... and now I've pruned most of it! So I'll post a pic when I get THAT shot.
I love my vertical garden! Have you got a tingle to make your own one too? Go on ... its easy!
xo Miss Freckles
