The idea for this Pomegranate Jelly Jam came from a bunch of over ripe bananas staring at me woefully for not having eaten them whlist at their prime. They were extra special since they were from my aunt's Thai Egg Banana (Kluai Khai) tree. The picture I've linked you to from My Destination (since I didn't take any before they looked woeful) will give you a better idea of how small and more plump they are than your usual ones. They pack a much sweeter and intense banana punch too! I didn't want to turn them into banana muffins or bread again so off my little mind went to conconct something a bit different ... banana jam?
Banana jam sounded a bit odd, but could work since freshly sliced banana on buttered bread is quite yum. My Google search came up with a couple of banana jam recipes with good reviews, so there was potential but I wanted my jam to have a more vibrant colour and texture to it. What else did I have in my fridge? Oooh pomegranate!! Google came up with some very nice looking pomegranate jam recipes but none with banana. Odd coupling? Yes! But I think it actually works if you're open minded to new flavours. Here is my recipe if you'd like to give it a go and let me know what you think.
Makes about 3 small jam jars
Prep time approx. 20 mins
Cooking time approx. 30 mins
Ingredients
| 1 large Pomegranate 4-5 ripe Thai Egg Bananas 1 medium sized Lime 25g Pectin ( I use the Jam Setta brand) 1/2 - 1 cup of Sugar 1 and 1/2 cups of Water |
How to Make it
1. Place 3 freezer proof saucers into the freezer to later test if the jam is ready.
2. Squeeze the juice from the lime into a small bowl. If your lime is hard, roll it with the palm of your hand on the bench to loosen it up, or you can also pop it in the microwave for 10 seconds first.
3. Slice up the bananas and drop them into the bowl of lime juice as you go. This prevents then from going brown.
4. Cut the pomegranate in half and remove the seeds from the white part in a large bowl of water. The water makes the process easier as the seeds sink to the bottom of the bowl, and the bitter white bits float to the top.
5. Put the seeds through a fine mesh strainer with a bowl underneath to extract the juice. If you like your jam a bit crunchy and chunky, leave some whole and unstrained.
6. Pour the sugar into an oven proof bowl and put it in the oven to warm up for about 5 minutes at 120 degrees celsius (248 F). Alternatively, pop it in the microwave in 30 second intervals, checking in between if it's warm.
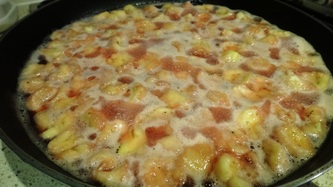
7. Put the banana lime mix, pomegranate juice and water into a large pan. Bring it gently to the boil stirring occasionally until the banana is soft. This shouldn't take long since it's quite soft already.
8. Mix the pectin with 1/2 of the warmed sugar. Stir it all gradually into the pan with the pomegranate mix until dissolved. Taste it to see if it is sweet enough for you and add more sugar as needed. I find it's naturally sweet so it doesn't need a lot of sugar.
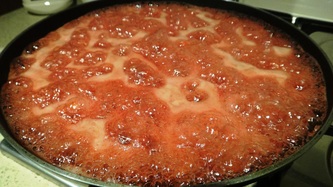
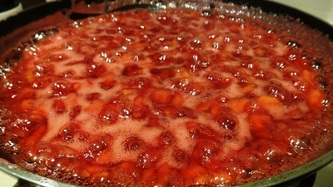
9. Rapidly boil the mix until it thickens, stirring occasionally and skimming off any foamy gunk as you go.
10. While this is going on, prepare your jam jars by washing them in hot spoapy water, then sterilising them in boiling water for about 5 minutes. Lift them out of the water carefully with tongs and place them in the oven on a tray with baking paper to dry or zap the jar (not the lid if it's metal!) for about 30-40 seconds in the microwave. Leave them in the oven or microwave until you're ready to use them.
11. Test if the jam is ready by placing a spoonful on one of the plates you put in the freezer and waiting about 10 seconds. Run your finger through it to see if it has reached that nice jammy consistency. Keep boiling and testing until it's ready.
12. Remove the sterilised jars carefully with tongs and spoon in the jam. Wipe the rims with a paper towel lightly damp with warm water. Close the lids, let it set at room temperature, then put it in the fridge. It should last about 3 weeks once opened.
How to Enjoy it
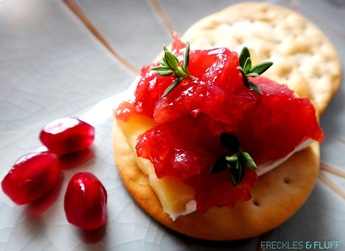
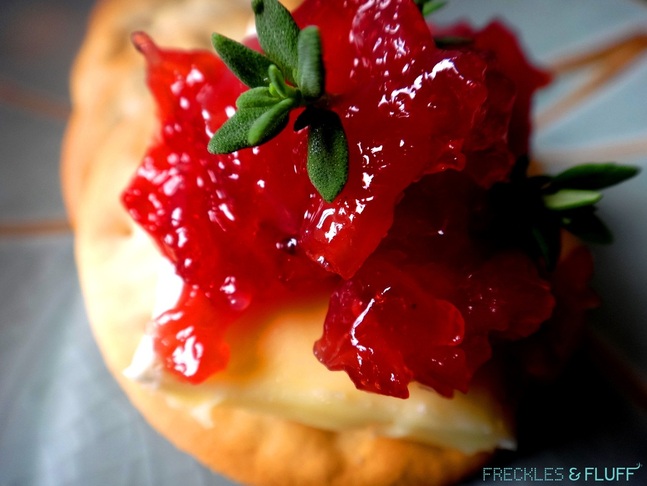
Have it with your favourite platter of cheese and crackers (garnished with some thyme or other fresh herbs If you're feeling extra adventurous), as a spread on your toast for brekkie or with some freshly baked scones and cream.
