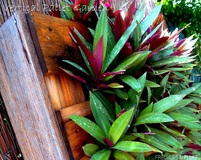
It was time to part with my former compost bin. Things hadn't worked out between us over the last 5 years. He was strong and sturdy due to his plastic build and was great at keeping stuff neatly together BUT he was too tall for me with too much air about him. It made our lives dry where nothing rich and organic came of our relationship.
Upon reflection, It probably wasn't just him but ME. I didn't nuture him as I needed. Instead, I just wanted him to be there, take my scraps and make it all happen. We weren't destined to be, so respectfully we parted ways to find our true composting mates. He hooked up on Ebay and me, closer to home :)
NOW, let me tell you more about my new compost bin, JIMOTHY. I couldn't resist giving him a name just for the silly fun of it ;p
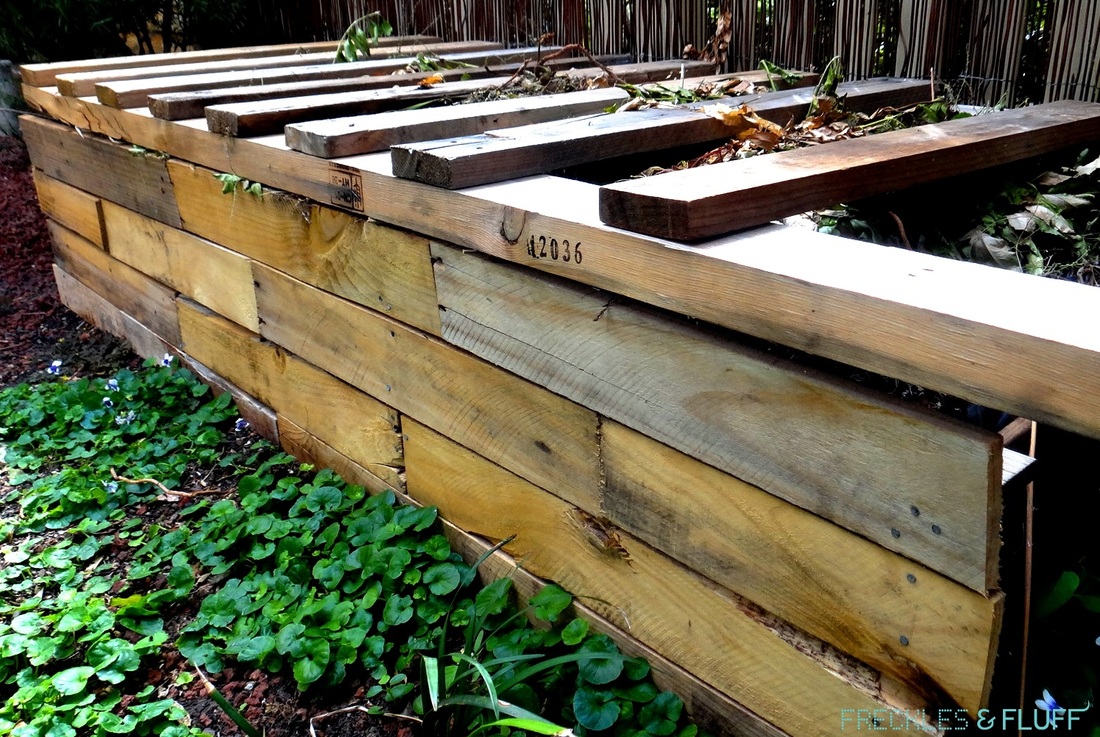
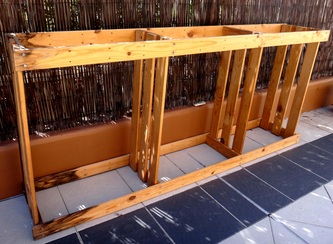
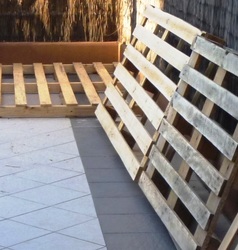
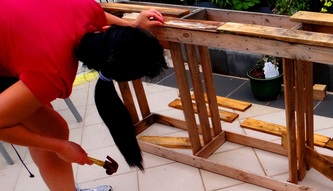
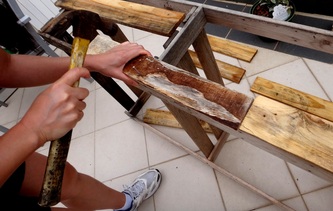
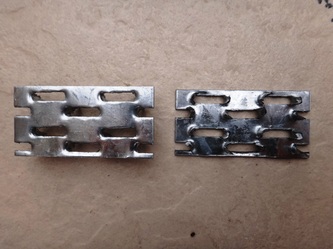
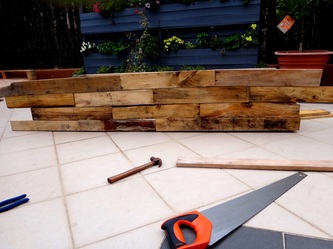
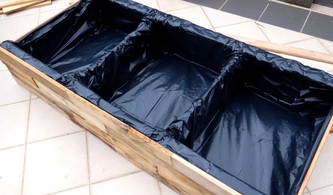
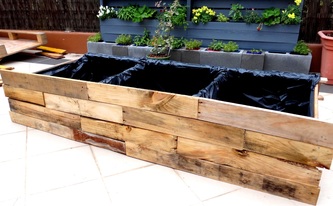
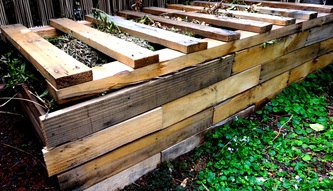
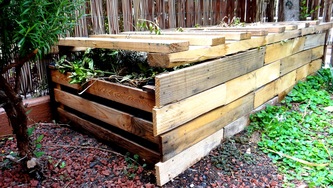
Materials & Dimensions Jimothy is part discarded Ikea Gorm shelf (his core) and part dismantled pallet (his shell). The Ikea shelf was a perfect size of 78x35x174cm for what I wanted in my garden. It definitely made putting him together much easier than starting from scratch. Design & Construction My friend, Miss Mascara Me, and I constructed his main front side by tessellating different lengths of wood pallet pieces. Now, if you're like me and like it simple you'd be wondering what the hec is 'tessellating'! Well Miss Mascara Me explained, "Yeah, you know ... tessellating ... like we learnt in math back at school". Huh? I must have snoozed through that class and that was a loooong time ago. Anyway, it means to fit together to form a pattern without gaps like you do with tiles, mosaics or brickwork etc. For some sections we needed to join two pieces together with Pryda Mini Nails to give it extra support. We then deiberately trimmed the edges unevenly to finish off his rustic look. Next we lined him with builder's film held together by a zillion staples using a staple gun. I know compost bins are meant to have air vents or holes for better aeration, but that was the problem with my former bin - too much aeration. I've also found that when I've thrown my vegie scraps into an empty pot it turned into rich organic soil quite nicely and quickly without me having to do much to it. So Jimothy's design was really just a bigger version of a pot in my mind. |
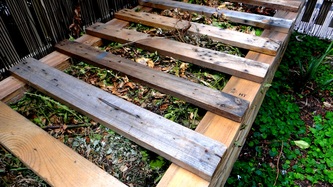
To finish him off, we simply positioned him, filled him up with what was in my old compost bin and put a pallet ladder lid on him to keep the scraps neatly contained. I'll let you know how he holds up over the next few months. Fingers crossed I finally get compost!!
Have you built a compost that's a little different? Would love to hear about it.
xo Miss Freckles
Have you built a compost that's a little different? Would love to hear about it.
xo Miss Freckles
