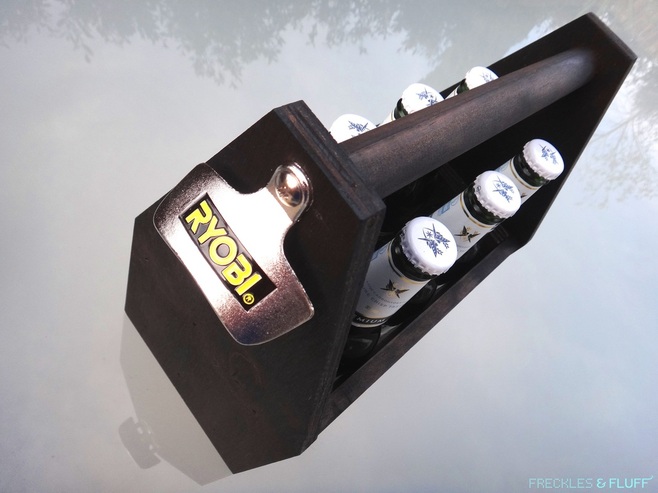
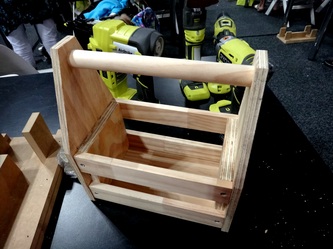
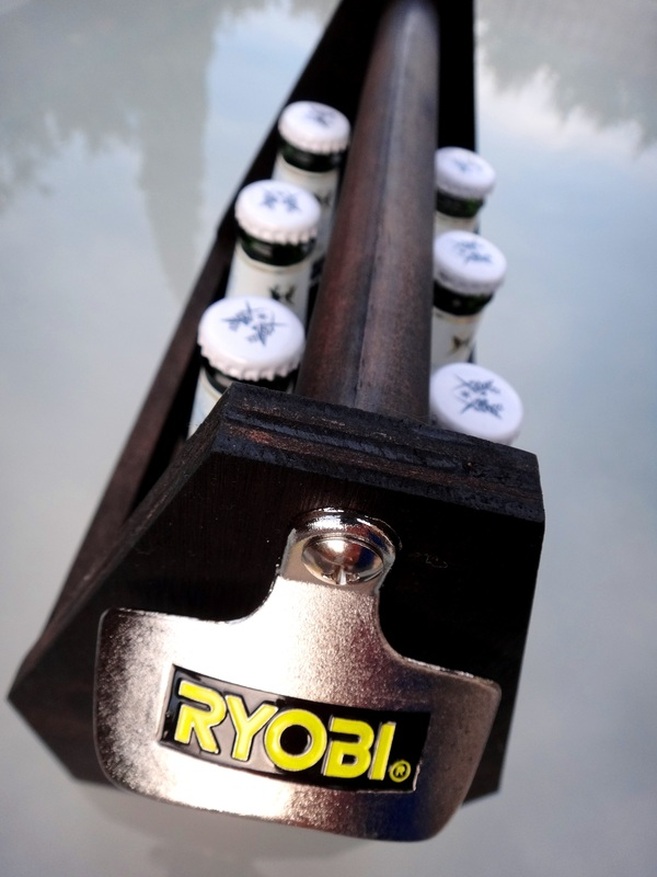
Hey, what do you think of this Drinks Caddy? Mr Freckles and I made it in a Ryobi Workshop at the Better Homes & Gardens LIVE Show. It was FUN trying out their ONE+ System tools where one battery fits into 21 power tools and 5 garden tools. I haven't been a fan of battery operated power tools as I find they don't have enough power and it's a pain to charge up, but these Ryobi ones seemed to work well during the 45 minute workshop. I did actually get TEMPTED to buy it.
So you can make your own DRINKS CADDY too, I've broken down the steps. I am a novice at wood work so I've tried to keep my instructions NICE and SIMPLE for those of you like me who freak out a bit when you see a cut list and think ... what the?
So you can make your own DRINKS CADDY too, I've broken down the steps. I am a novice at wood work so I've tried to keep my instructions NICE and SIMPLE for those of you like me who freak out a bit when you see a cut list and think ... what the?
WHAT YOU'LL NEED - MATERIALS & TOOLS
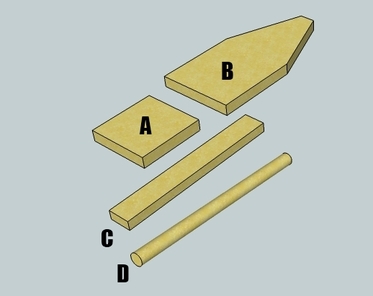
To cut your own pieces of wood for this project (or you can get your local hardware store to cut them to size for you), here is what you'll need:
WOOD CUT LIST (in mm)
A: 2 x square blocks (135L x 18W x 135H)
B: 2 x hexagon blocks (155L x 8W x 295H). Base to bit where it angles off is 150mm.
Top bit is 42mm wide.
C: 6 x rectangular planks (245L x 8W x 42H)
D: 1 x rod (245L x 20W)
To put it all together, you'll then need:
MATERIALS
14 x 25mm long screws
2 x 15mm long screws
Bottle opener attachment
Safety glasses and gloves (wear these throughout)
Stain & varnish
TOOLS
Nailer
Screw driver
Sander
Drill
Clamps
STEP BY STEP INSTRUCTIONS
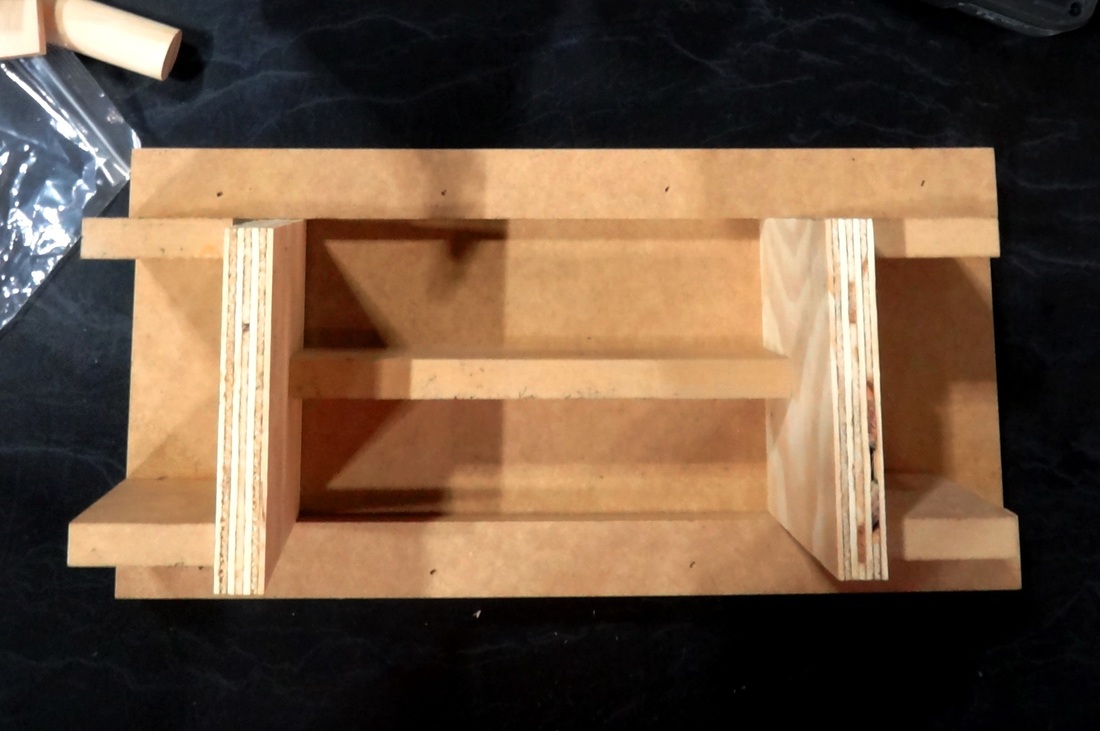
1. Secure the 2 square blocks (A) upright on a flat secure surface. Here they are pictured in a jig (i.e frame) Ryobi pre-made to hold it in place, but you can use bricks/blocks of wood clamped securely on either side. The width would be the length of a rectangular plank (C).
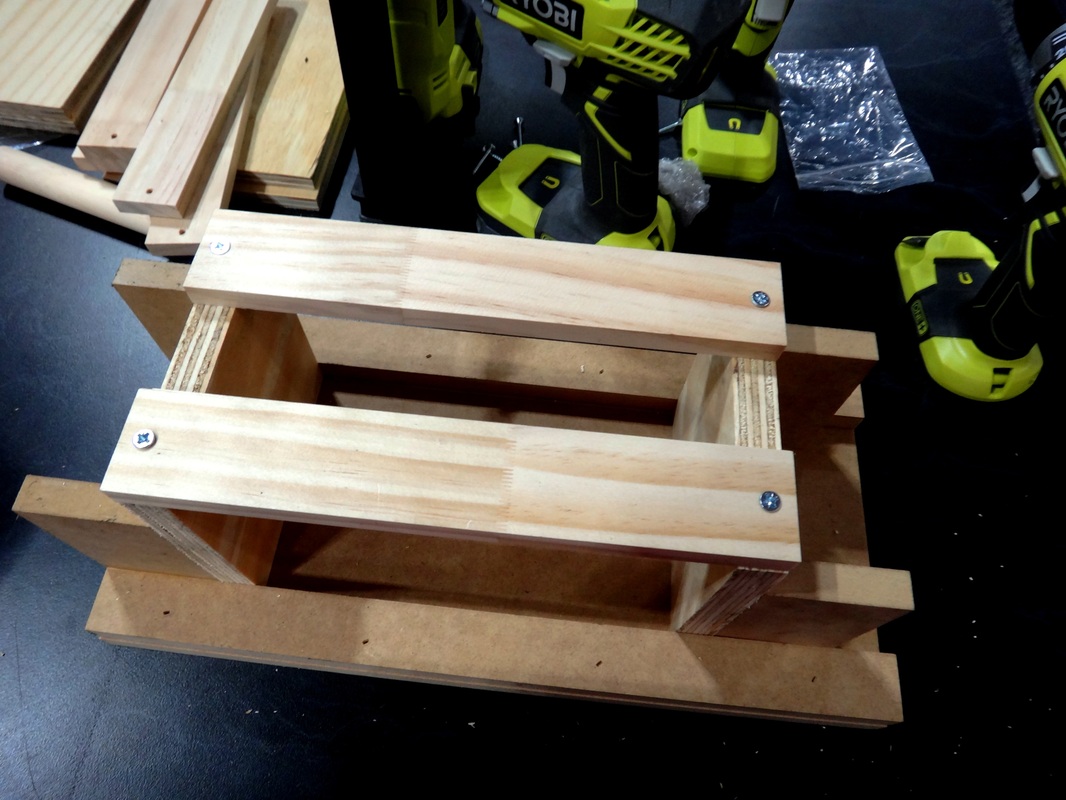
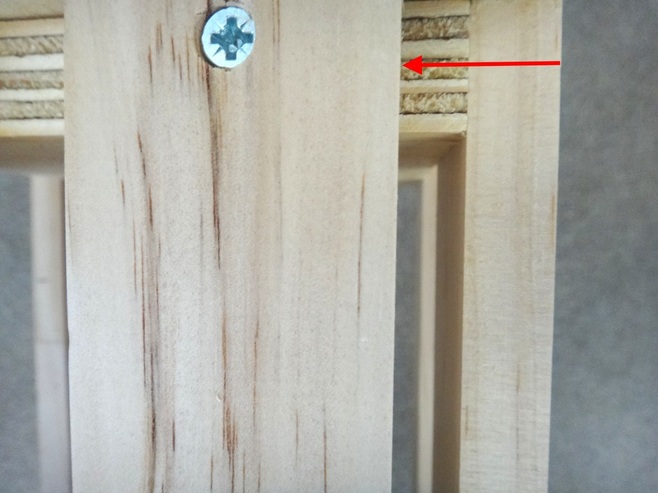
2. Line up 2 rectangular planks (C) to the square blocks (A) so it is flush with each corner as shown above. Pre-drill your holes so the wood doesn't split, then screw in the 25mm screws.
3. Flip the thing over, then repeat step 2 on the opposite side with 2 more rectangular planks (C). These form the sides of your caddy.
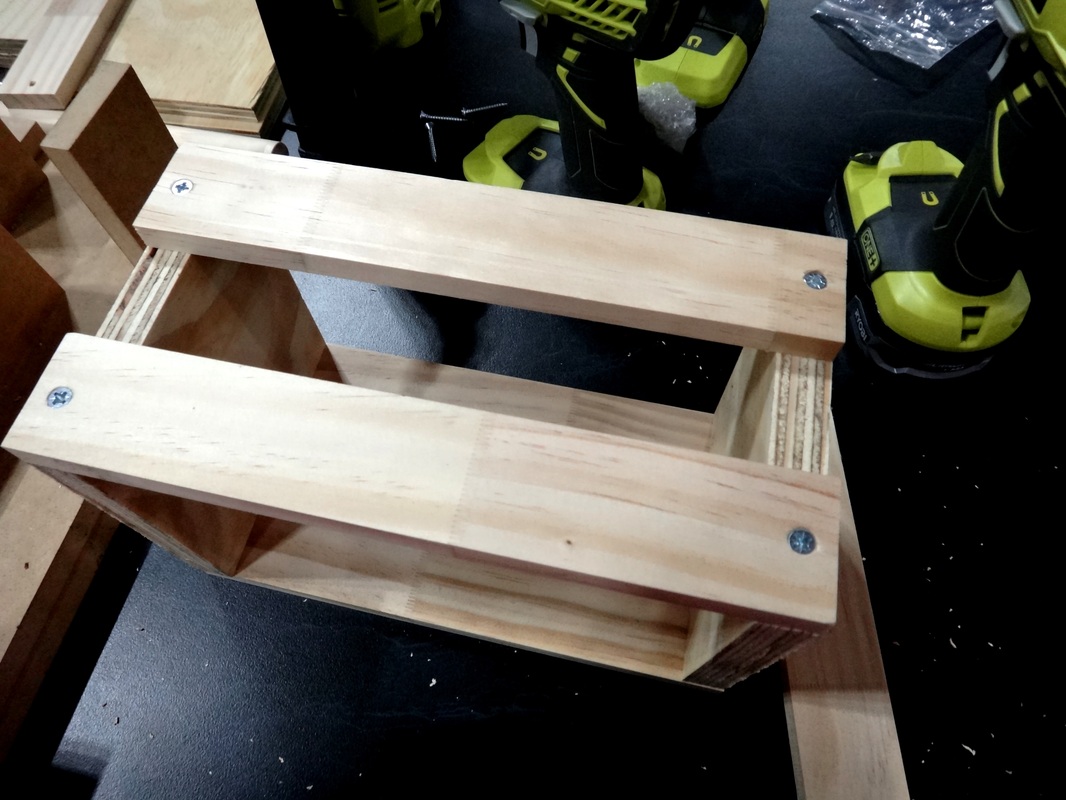
4. Using the 2 remaining rectangular planks (C), form your caddy's base by lining them AWAY from the sides by about 20mm. This makes the surface stable for the stored drinks. Pre-drill your holes and screw in the screws.
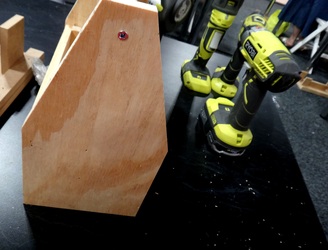
5. Now to create the ends of your caddy, attach the hexagon blocks (B) with a nailer (6 nails). Make sure the nails go through both the hexagon block (B) and the inside square block (A), othewise you'll get sharp nail bits sticking through.
6. To attach your caddy handle, measure, mark and pre-drill a hole about 25mm from the top of each end of your caddy (B). Insert the rod (D) in place and screw in the screws.
6. To attach your caddy handle, measure, mark and pre-drill a hole about 25mm from the top of each end of your caddy (B). Insert the rod (D) in place and screw in the screws.
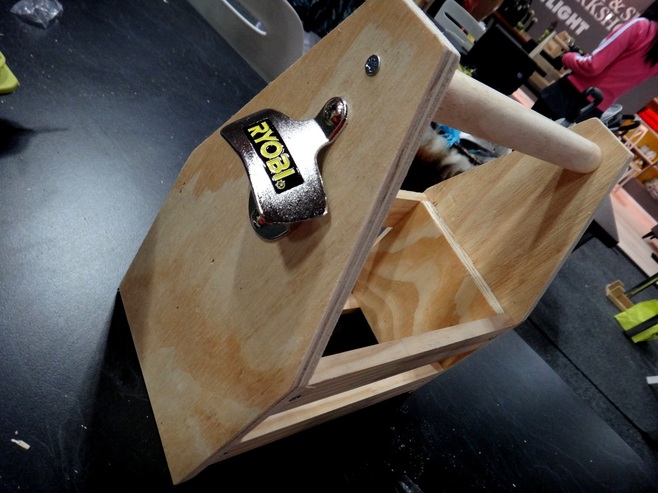
7. To attach your bottle opener, pre-drill a little hole only (not all the way through) in the spot you want it. Then secure it using the 2 smaller screws.
8. Using a sander, smooth out any sharp corners and rough surfaces.
8. Using a sander, smooth out any sharp corners and rough surfaces.
9. Dust it off and follow the instructions on your stain and varnish product to coat it.
10. Last thing to do then is load it up with your favourite drink bottles, sit back and simply enjoy it :)
Miss Freckles xo
10. Last thing to do then is load it up with your favourite drink bottles, sit back and simply enjoy it :)
Miss Freckles xo
