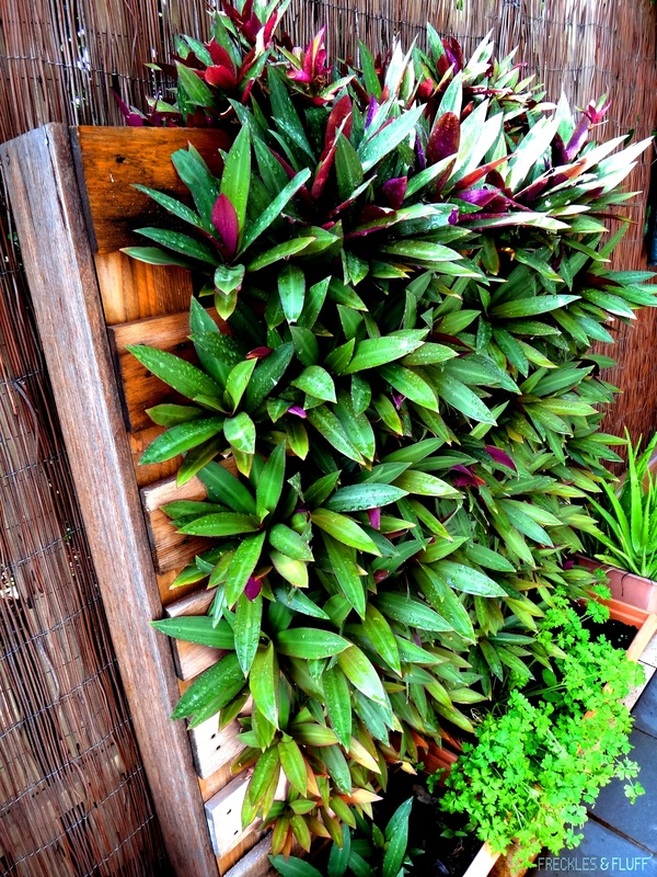
I can't get enough of vertical gardens right now! There is a spot in my yard where I'm stashing my collection of pallets/wood to upcycle. Wouldn't it be great to make it more discreet from the outside by blurring it's obviousness away? For sure!
I mentioned in my first Wooden Pallet Vertical Garden post that there are some great vertical pallet garden tutorials out there already. Here is just my version with a step by step guide of how you can build a simple one too without needing to leave it laying on the ground to establish for a few weeks first (just because I can't wait). I do this by using shallow rooted plants and fully lining the inside of the pallet.
I mentioned in my first Wooden Pallet Vertical Garden post that there are some great vertical pallet garden tutorials out there already. Here is just my version with a step by step guide of how you can build a simple one too without needing to leave it laying on the ground to establish for a few weeks first (just because I can't wait). I do this by using shallow rooted plants and fully lining the inside of the pallet.
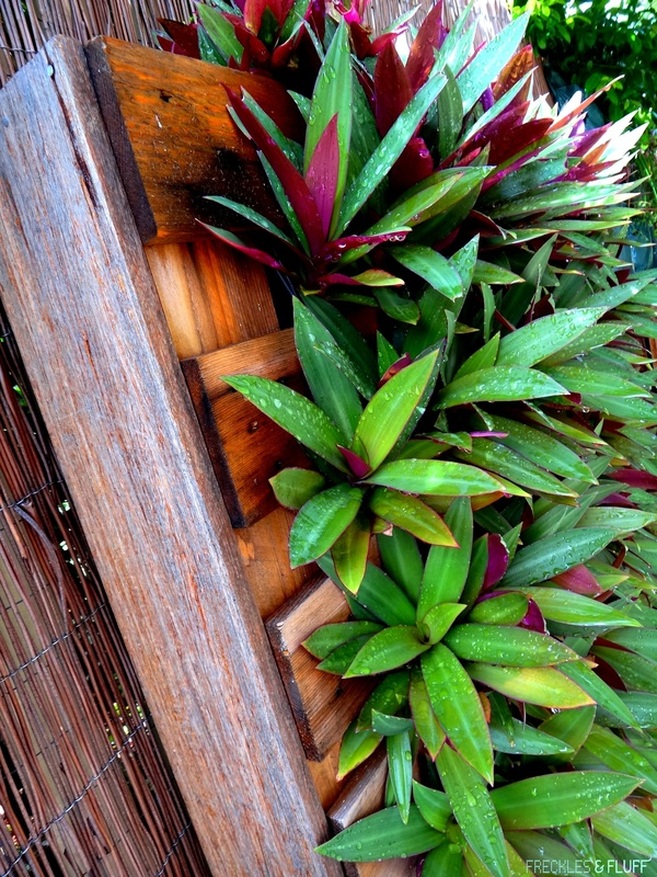
The plants I used for this DIY project have been growing in a pot in my garden for a few years already and it had lots of offshoots. Perfect for this as I didn't need to spend any money on buying plants, it has striking purple and green leaves plus they are easy to grow, maintain and hard to kill! A little important since I do that to a few of my plants over time. It's called Rhoeo Spathacea, also known as the Oyster Plant or Moses-In-The-Cradle.
1. Gather your materials
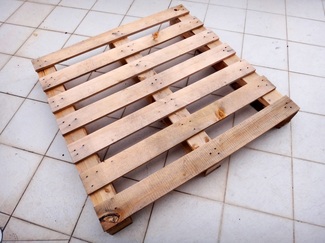
- A heat treated pallet that's in good condition
- Planks of wood long and wide enough to cover the sides and bottom
- Builder's film (or landscaping fabric)
- Staple gun and staples
- Nails
- Hammer
- Drill
- Quality potting mix/soil
- Knife
- Plants with shallow roots ... lots of them!
- Planks of wood long and wide enough to cover the sides and bottom
- Builder's film (or landscaping fabric)
- Staple gun and staples
- Nails
- Hammer
- Drill
- Quality potting mix/soil
- Knife
- Plants with shallow roots ... lots of them!
2. Line the pallet
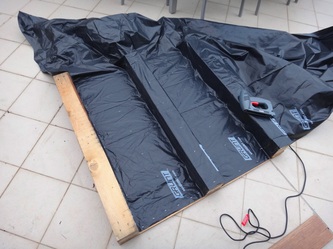
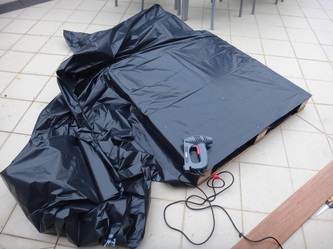
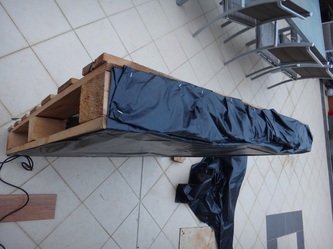
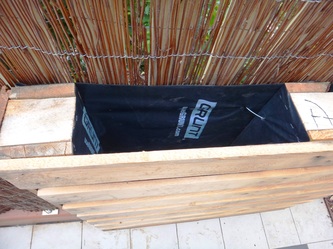
Using your staple gun, secure builder's film to the inside, over the back and over the bottom of the pallet so the soil can sit inside it without spilling out. Go over the back and bottom sections again to make it strong and use lots of staples just to make sure.
3. Cover the sides and bottom
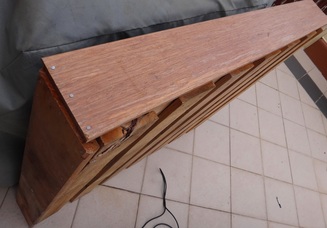
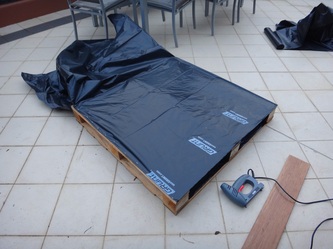
Nail in the planks of wood to cover the 2 sides and bottom.
Drill some drainage holes into the bottom planks, making sure that it goes through the builder's film too. I put in about 12.
If you wanted to, you can give it a coat of paint at this stage. I kept my vertical garden as is for a rustic and natural look.
Drill some drainage holes into the bottom planks, making sure that it goes through the builder's film too. I put in about 12.
If you wanted to, you can give it a coat of paint at this stage. I kept my vertical garden as is for a rustic and natural look.
4. Position and secure it
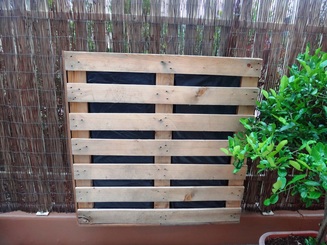
Since mine was going up against a fence and off the ground, I secured it with metal wire threaded through the back at the top, middle and bottom.
Yours could sit on the ground leaning against a wall. Just make sure it's secured and safe so it doesn't fall over with a bit of a knock or gust of wind.
Yours could sit on the ground leaning against a wall. Just make sure it's secured and safe so it doesn't fall over with a bit of a knock or gust of wind.
5. Fill it with soil and plants
Fill it with soil right up to the top and pack it down firmly.
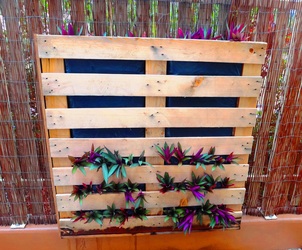
Start planting on the bottom row and working your way up. Don't do what I did and plant in the ones at the very top first. I ended up needing to take them out as the soil sinks down over time.
Cut a small slit with a knife into the builder's film where you want the plant to go. Using a shallow solid rooted plant like the Oyster Plant makes it easier to do this with.
When you're done, water it in well over the next few days to help it establish it's roots.
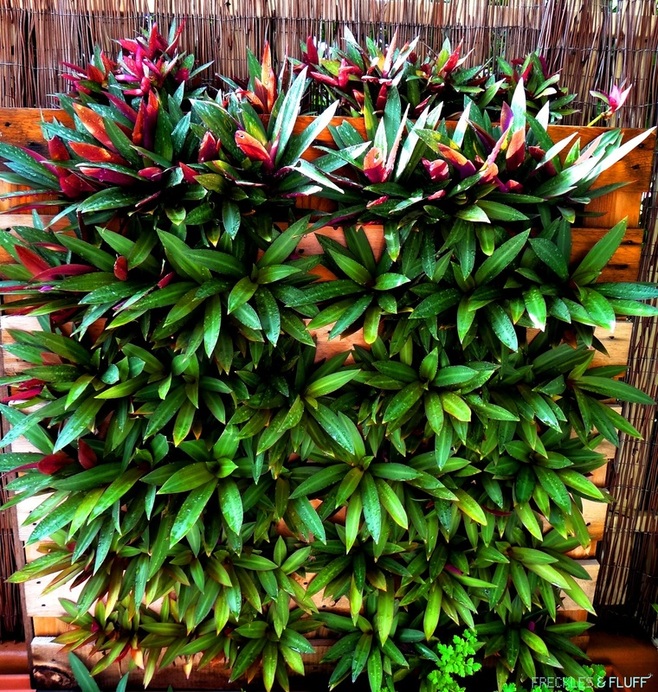
6. Sprinkle with tender loving care and this is what you get after a few months
Keep it watered and fertilised as needed for the type of plant you use.
I haven't killed mine yet, so that's a good sign!
xo Miss Freckles
I haven't killed mine yet, so that's a good sign!
xo Miss Freckles
