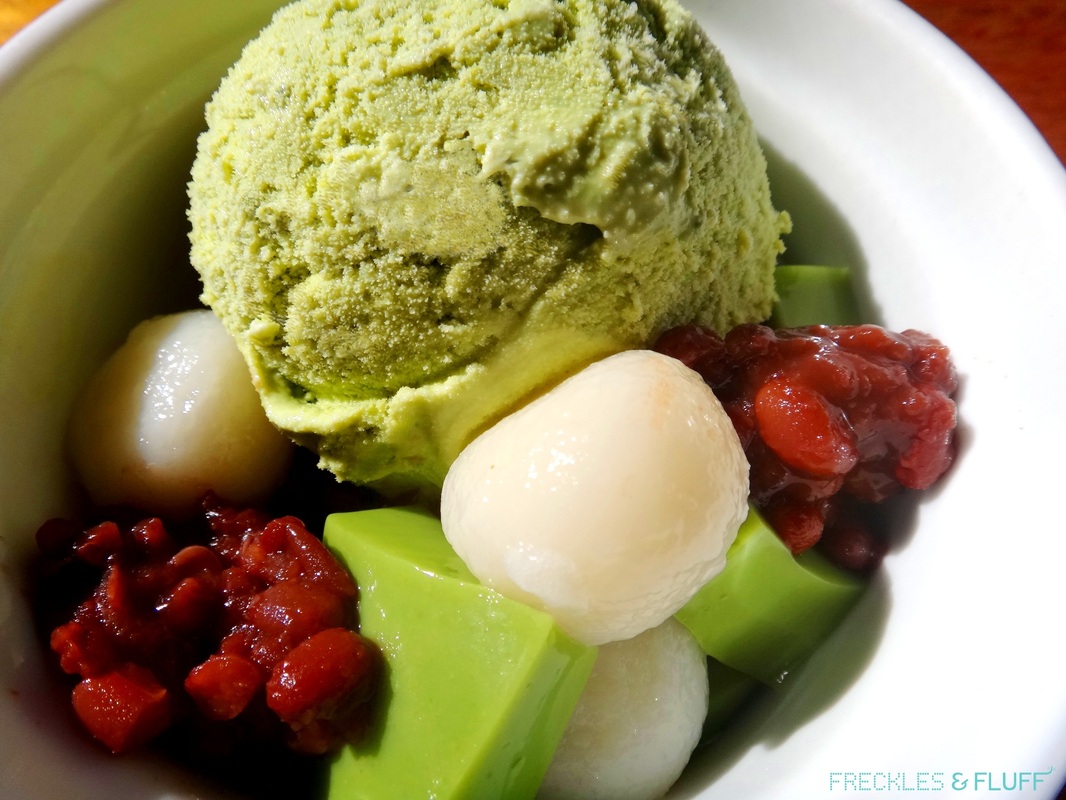
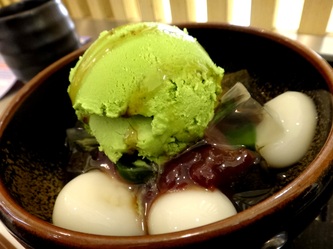
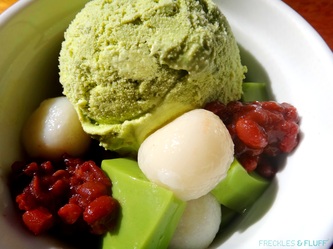
I must have eaten this at least 4 times a week when I was in Japan! Yes, even for breakfast one time! It was so good with it's fresh and CREAMY green tea flavour nicely balanced with sweetness, topped off with SOFT and CHEWY mochi balls, sweet red beans and a hit of slippery SMOOTH green tea jelly. So it's only natural I'd be craving it still. Here's my recipe to recreate this delicious Green Tea Ice Cream dessert.
Serves 6-8
Prep Time 1 hour 15 mins plus overnight
Cooking Time 2 hours
Serves 6-8
Prep Time 1 hour 15 mins plus overnight
Cooking Time 2 hours
Ingredients
Green Tea Ice Cream
Option 1: Short Cut Version
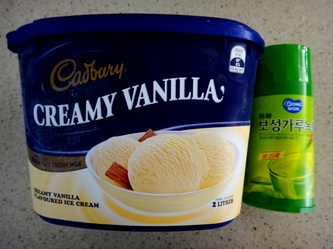
Green tea powder
1 litre creamy vanilla buttermilk ice cream (try and get one that is subtle on the vanilla flavour so it doesn't dominate the green tea flavour)
Option 2: From Scratch Version (source: Setsuko Yoshizuka on About.com)
3/4 cup milk
2 egg yolks
5 tablespoons sugar
3/4 cup heavy cream, whipped
1 tablespoons matcha green tea powder
3 tablespoons hot water
Red Bean Topping
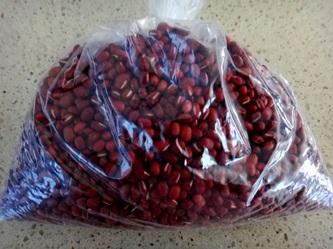
1/2 cup red beans
Water
4 tablespoons sugar
Green Tea Jelly
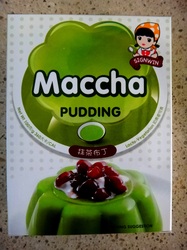
Green tea or matcha jelly mix (I think the flavour of the green tea jelly works better, but both are nice)
Water
Mochi Balls
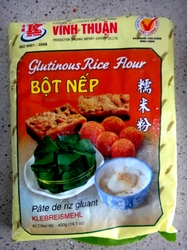
1 packet glutinous rice flour
400ml warm water
1/2 cup sugar
How to make it
Green Tea Ice Cream
Option 1: Short Cut Version
1. Soften ice cream and combine in a mixing bowl with the green tea powder using an electric mixer. Add more green tea powder if you like a stronger flavour.
2. Pour it back in the ice cream container and leave it overnight in the freezer to set
Option 2: From Scratch Version
Allow extra prep time and follow the recipe by Setsuko Yoshizuka
Red Bean Topping
1. Soak beans in a bowl of water overnight
2. Boil it in fresh water with the sugar for about 1&1/2 hours or until soft. Scoop off foam as you go and add more water as needed thoughout. Taste it near the end and adjust sweetness to your liking.
3. Leave to cool. It can be kept refrigerated for about 4 days.
Green Tea Jelly
1. Follow packet instructions and use a little less water than indicated. For my packet, I used 500ml of hot water to dissolve the jelly crystals instead of 600ml to give it a firmer texture.
2. Let it cool a little then pour into silicon ice cube trays and leave in fridge overnight to set. You can experiment with different ice cube shapes here too if you like.
Mochi Balls
1. Dissolve sugar with 400ml of warm water.
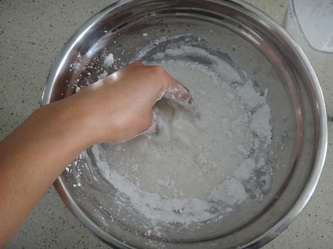
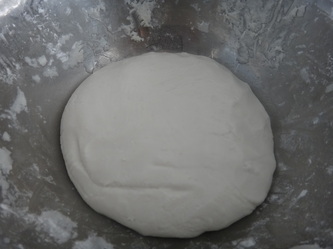
2. Leave1/2 cup of flour aside and spread some of it onto a tray. Put the remaining flour into a large mixing bowl. With your hands knead the flour in the bowl, adding in a bit of warm water at time until you get one non-sticky yet soft dough ball. Depending on the weather, you may need more or less water.
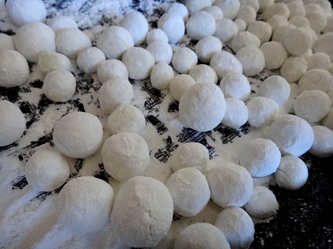
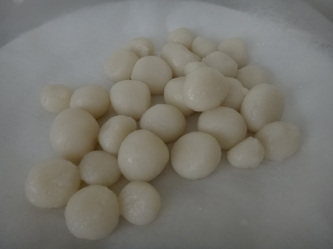
3. Rub your hands in some flour from the tray and working quickly, grab a small hand full of the dough. Roll it with your hands into a sausage, break off a bit and roll it into a ball, then drop it onto the dusted tray . Coat it with the flour so it doesn't get sticky. Repeat until finished. You can make small or big balls. Experiment! If the dough starts to dry out, add in a little bit of water to get the right consistency again.
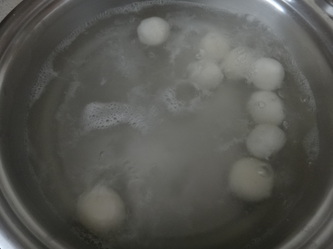
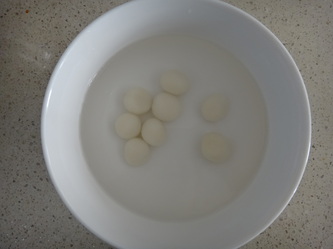
4. Boil up a pot of water, then add in however many balls you plan to eat/serve on the same day. They are ready once they float to the top. Scoop them out and put into a bowl of iced water.
TIP: For any balls you won't be using on the same day, leave them to dry on the tray for about 3 hours. Then separate into portion sized bags, and pop them into the freezer. They'll keep in there for a long time.
How to enjoy it
Plate it up like I have the Japanese way and enjoy it after dinner or as an UNCONVENTIONAL DEVIOUS start to your day as breakfast :) The photo of the original I tried in Japan is on the left and my version on the right. My ice cream wasn't as smooth doing it the short cut way though, so from scratch is better but it still tastes nice if you're feeling lazy.
One of my FAVOURITE INDULGENCES (and I guess odd ... so friends tell me) is to eat creamy ice cream on a cold winter day right in front of the heater. It just works ...TRY IT! I also like to scoop out a big spoonful from a bowl. I don't have the patience to lick a cone. I just want to eat it! The ice block type ice creams are my go to for summer though.
How do you like to eat your ice cream?
xo Miss Freckles
