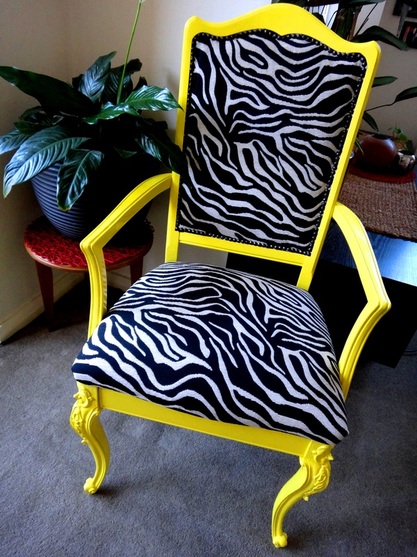
Hello there YELLOW! I did say I had a think for yellow at the moment from my last project and I thought it would work really well on this antique chair too. At first, I had restored it to it's original condition by fixing up it's wobbly broken legs, cleaning off the pen scribble marks on the upholstery and touching up its stain/varnish. It looked good already, but a DRAMATIC, BOLD and CONTEMPORARY make over has really made it WOW don't you think?
Here's a SNAPSHOT of how I did it.
Here's a SNAPSHOT of how I did it.
1. Repair any wobbly broken legs
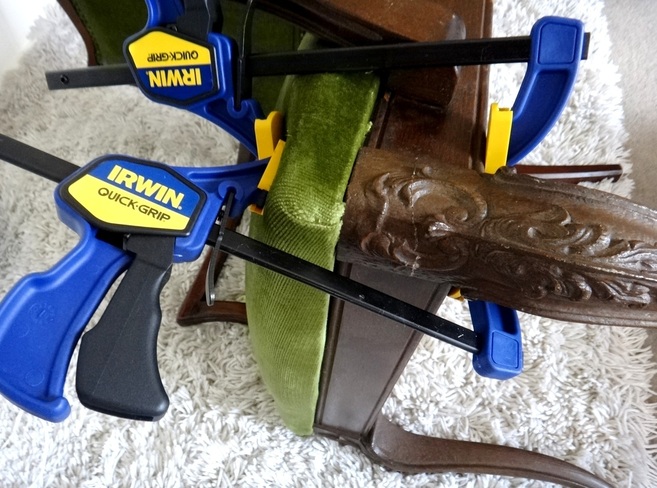
Used WOOD GLUE and secured it together overnight with CLAMPS
2. Carefully remove upholstery
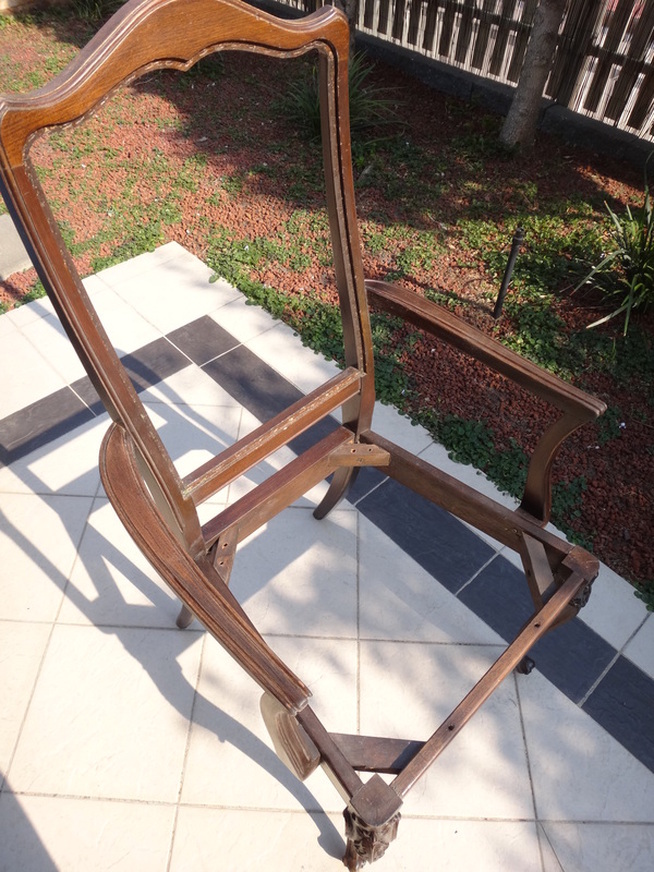
FOR THE SEAT, unscrewed it from the frame and kept the original upholstery on it as I could just cover it with the new one.
FOR THE BACK, used a stapler remover to pry off the TACKS and GAZILLION staples. It was important to remove the back carefully to maintain its shape as it was the pattern for the new upholstery.
FOR THE BACK, used a stapler remover to pry off the TACKS and GAZILLION staples. It was important to remove the back carefully to maintain its shape as it was the pattern for the new upholstery.
3. Prep and paint the chair frame
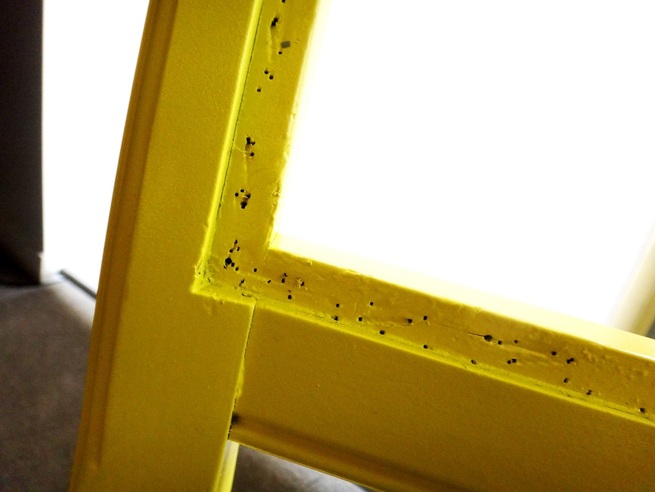
Gave it a light sand, dust off and then PRIMED it with Rust-Oleum’s Painter’s Touch Ultra Cover 2x PRIMER in Grey. Once dry, finished it off with a TOP COAT of Rust-Oleum's Painter's Touch Ultra Cover 2x GLOSS in Sun Yellow.
4. Cut new upholstery pieces
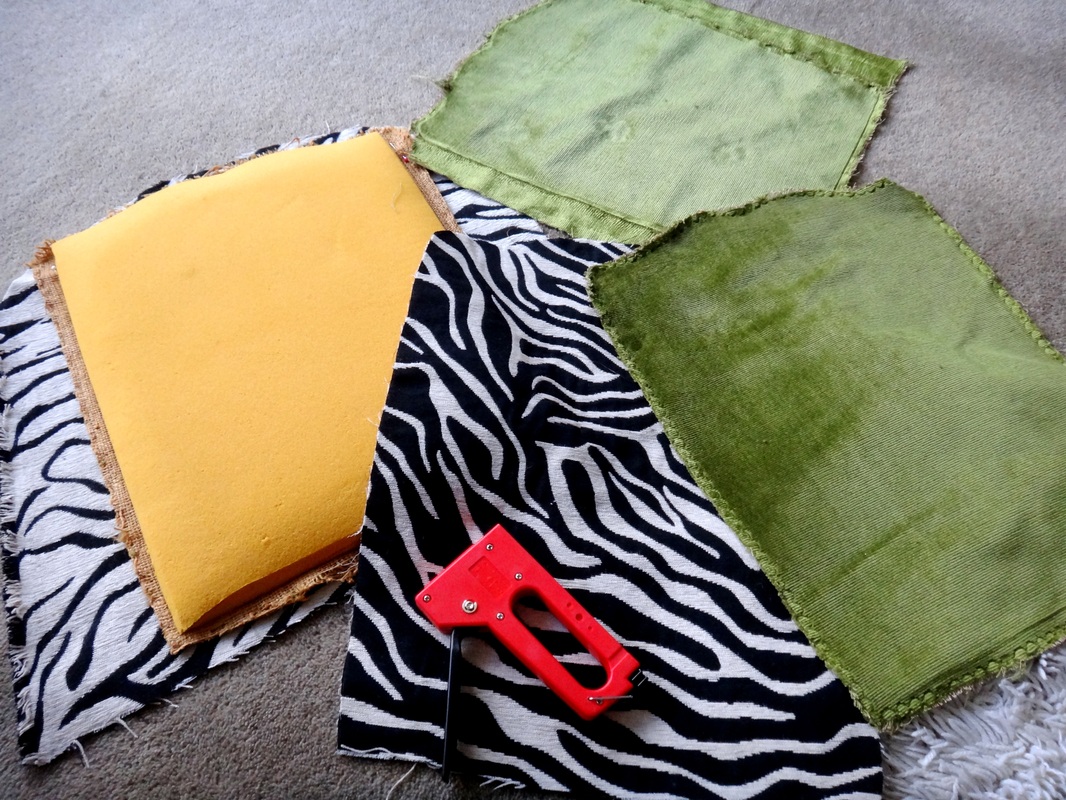
FOR THE SEAT of the chair, measured and cut the rough size needed to cover it with extra overhang.
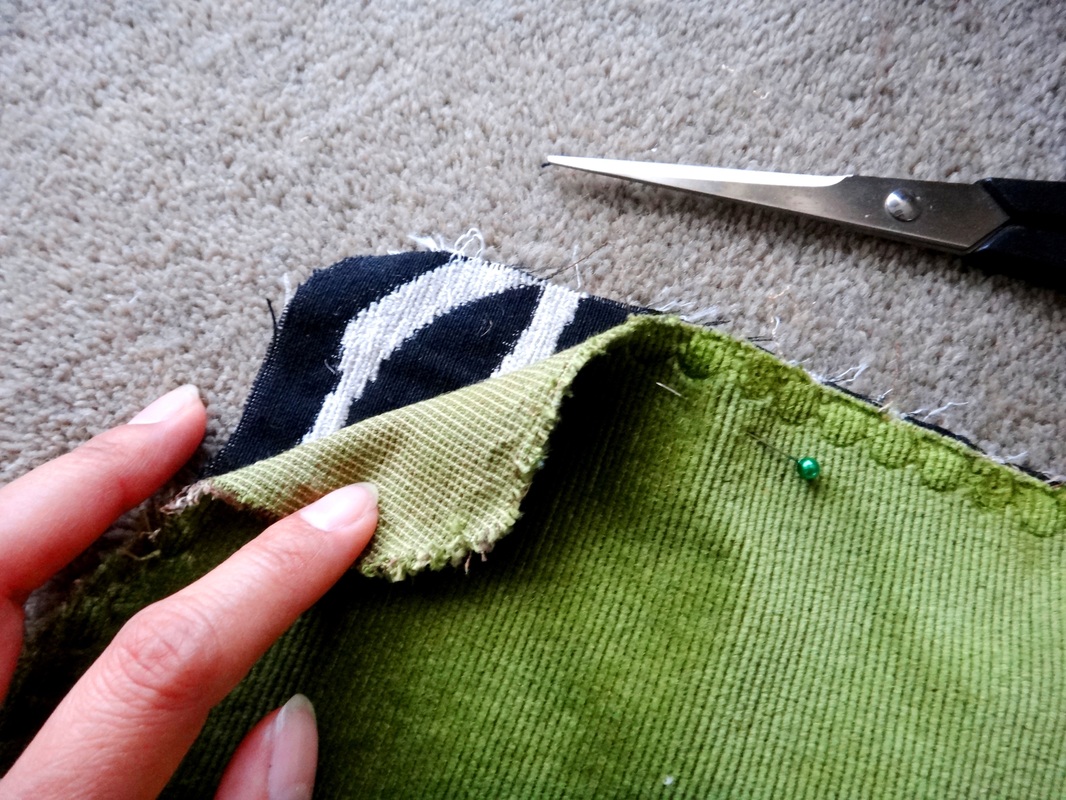
FOR THE BACK, pinned the old upholstery on top of the new WILD ZEBRA PRINT upholstery and cut it to the same size. The direction of the Zebra stripes needed to be kept the same as the seat so it looks consistent.
FOR THE BACK, pinned the old upholstery on top of the new WILD ZEBRA PRINT upholstery and cut it to the same size. The direction of the Zebra stripes needed to be kept the same as the seat so it looks consistent.
5. Secure new upholstery

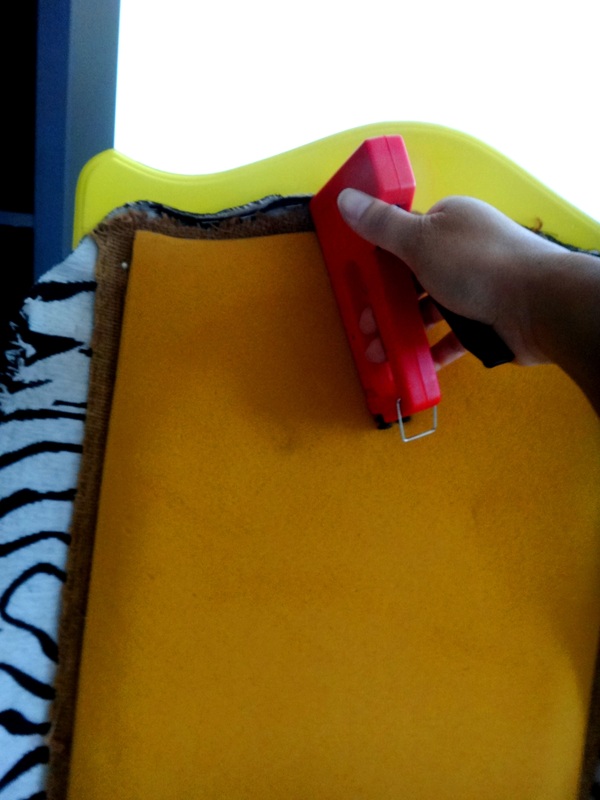
FOR THE SEAT, stapled one side first, then pulled it firmly across to the opposite side to staple it in place. For the remaining sides, trimmed the corners as needed to give it a neat fold then stapled it along the side to finish it off.
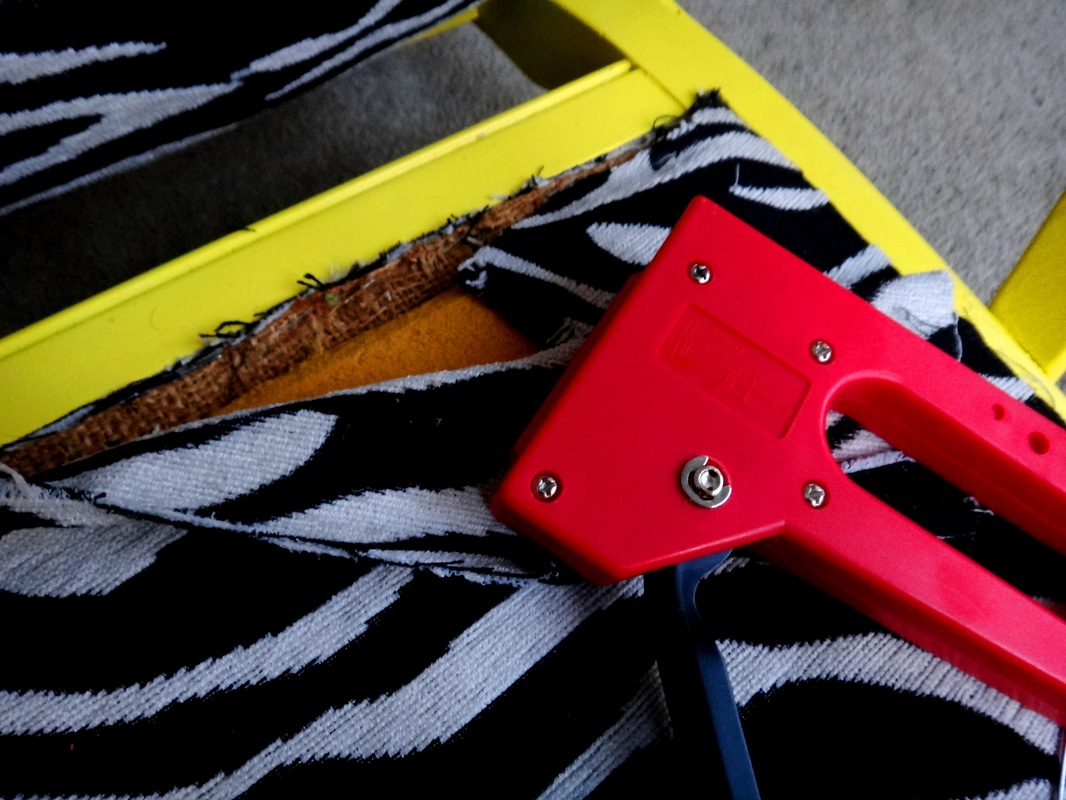
FOR THE BACK, pinned the first layer of the material to the inner cushion, then staple it into the inner chair rim all the way around. Next was to line up the 2nd layer and staple it in place. Any excess bits were either trimmed to fit. Last part was to put back the tacks using a mallet and excess piece of material (so the chair doesn't get dented) along the inner chair rim to finish it off.
FOR THE BACK, pinned the first layer of the material to the inner cushion, then staple it into the inner chair rim all the way around. Next was to line up the 2nd layer and staple it in place. Any excess bits were either trimmed to fit. Last part was to put back the tacks using a mallet and excess piece of material (so the chair doesn't get dented) along the inner chair rim to finish it off.
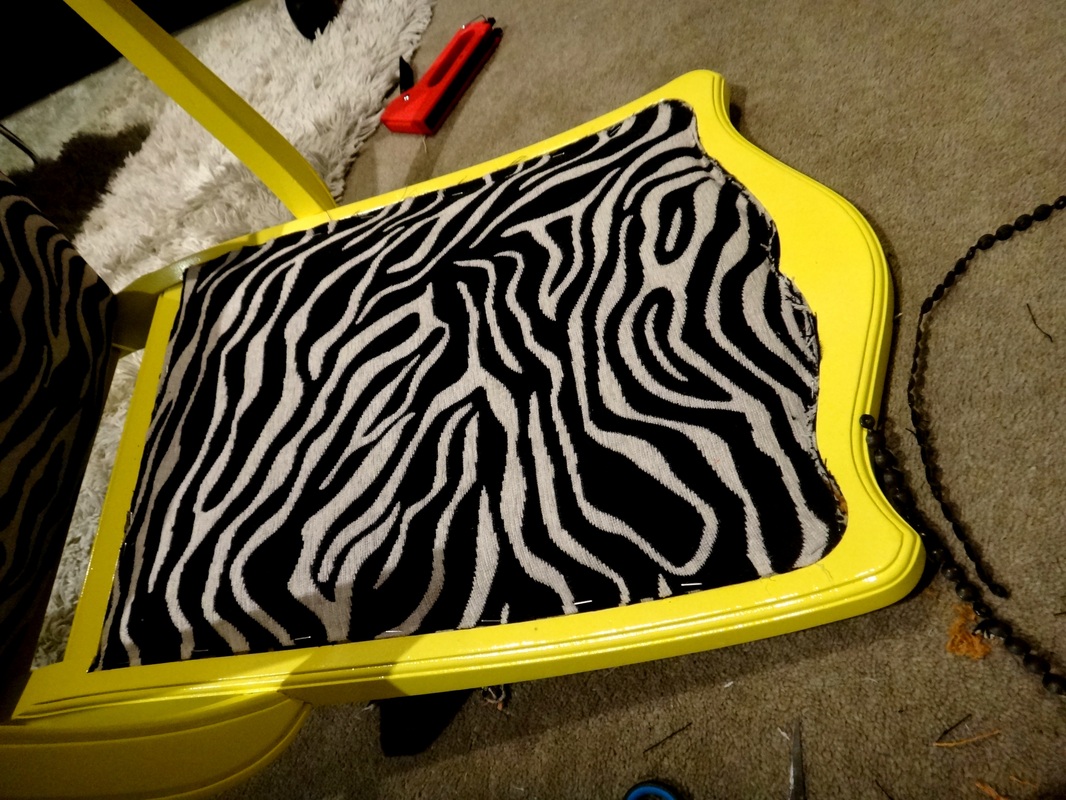
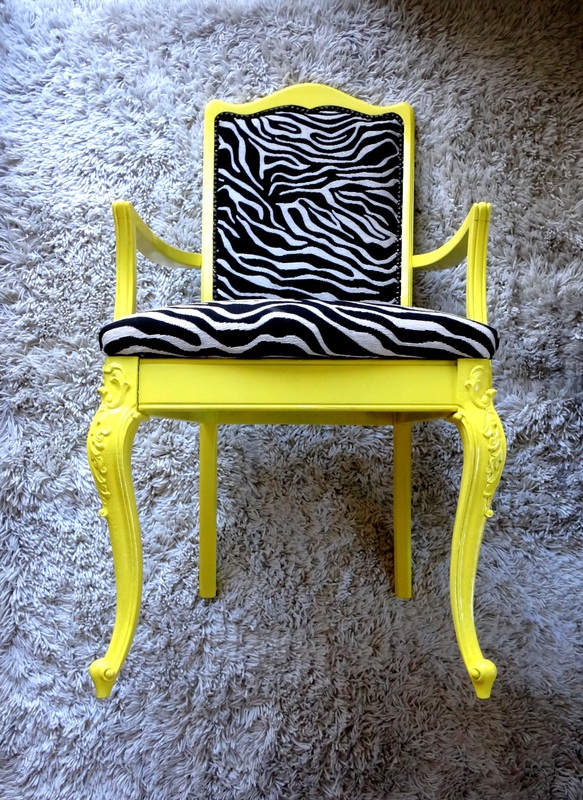
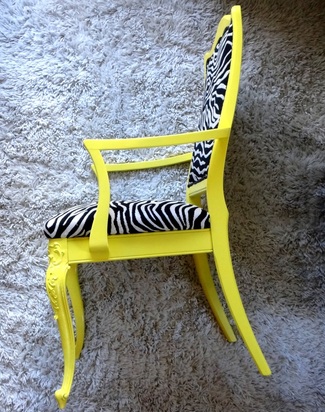
The finished product!
 |  |
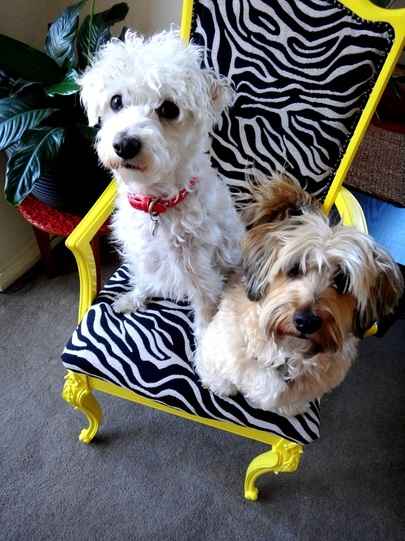
Furniture testers, Buddy and Razz, have given it the paws up too :)
xo Miss Freckles
xo Miss Freckles